- Messages
- 32
- Location
- Riverside, CA
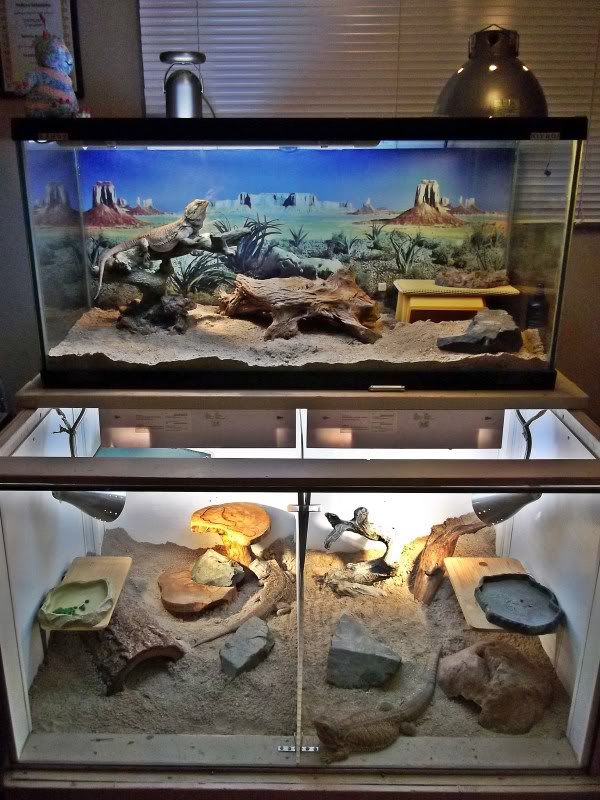
Hey everyone. I'm new to the forum. I've had my bearded dragon (my first time owning one) since a little before christmas and so far, it's been great. I've had very little problems taking care of her. But she is starting to grow quite a bit and I want to start working on a new home for her. Right now she's in a tank that's two feet long, probably a foot wide and a foot tall (I'm away from home typing this so I can't check). I figured I should just go ahead and build her something that she'll be comfortable in even at full size. So I've been working the whole week on creating a 3d model using Google SketchUp. I was hoping for some feedback from some of the veteran caretakers here. This is what I've come up with. It consists of two pieces, the actual vivarium and the base. It won't necessarily have this cherry finish on it. That's just what I happened to do while modeling it. I might just paint it black so I can save money on wood.


The vivarium is 2' tall, 4' long, 4' wide and is built in a sort of diamond shape from above.

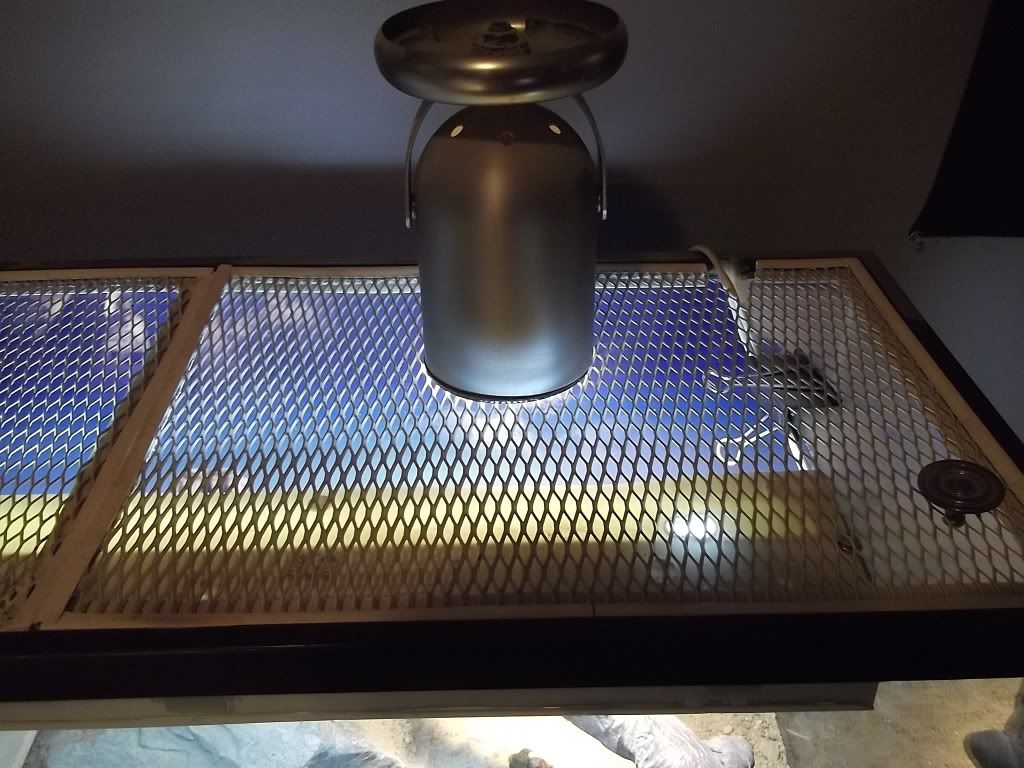
The issue of lighting is one that I need the most advice on. With a habitat this size, I was unsure of how to heat it properly. This plan (subject to change) allows me to place one large UV lamp with two bulbs toward the back of the vivarium and three heating lamps toward the front, offering her multiple basking locations. I was thinking perhaps a ceramic heat emitter in the front circle, a day lamp in the left and a night lamp in the right, assuming that two at a time would be enough. Does this sound like it would work?

This is a view of the back of the model which would be up against the wall. Notice the vents in the vivarium back walls. There are also two holes near the bottom of the base where the wires from the lamps would be run and plugged into a power bar (likely one with a timer).

This image shows the sliding plexiglass doors up close. I've mostly worked out how to build them. You can also see the desert background which I may or may not include in the final product. The floor is going to be tile beneath the sand to make cleaning easier. There is also a hole in the tile that can be seen through the window. This is for cleaning and will normally be plugged. I decided when it comes time to exchange the sand for fresh sand, I could sweep all the sand into this hole in the floor and into a container in the cabinet of the base. There is also a funnel I'll get to later that will make this easier.

In order to make cleaning easier, the lid will be hinged and supports will be placed into small holes to hold it up. Or I may find some locking hinges to use if this is doable.

Here are the shelves in the base. I figured I could put everything I need to take care of her here so it is easy to get to.

Here is the full base section. The back walls are raised so the entire vivarium piece can simply be slid to the back, easily aligning the holes in the vivarium floor and base lid.

This is the base without the lid, showing how it is supported. It rests upon a groove in the walls of the base. The walls may end up each being two separate pieces of wood as I now realize the planned cut may be too difficult to accomplish.

Here is the open cabinet with a view of the funnel that will be attached on the bottom of the hole in the base lid. This cabinet is where a plastic tub will be placed to sweep the sand into. I may also store my tub of crickets in this cabinet as well.
So that's the plan so far (it's already been altered so many times that I'm expecting it will still have to be tweaked a bit, but hopefully I'm close). If anyone has any advice that would help me out, I'd love to hear it. My biggest priority is making sure this will be somewhere my dragon will live out a very happy life.
looking forward to your feedback,
Bryce Anthony
The vivarium is 2' tall, 4' long, 4' wide and is built in a sort of diamond shape from above.
The issue of lighting is one that I need the most advice on. With a habitat this size, I was unsure of how to heat it properly. This plan (subject to change) allows me to place one large UV lamp with two bulbs toward the back of the vivarium and three heating lamps toward the front, offering her multiple basking locations. I was thinking perhaps a ceramic heat emitter in the front circle, a day lamp in the left and a night lamp in the right, assuming that two at a time would be enough. Does this sound like it would work?
This is a view of the back of the model which would be up against the wall. Notice the vents in the vivarium back walls. There are also two holes near the bottom of the base where the wires from the lamps would be run and plugged into a power bar (likely one with a timer).
This image shows the sliding plexiglass doors up close. I've mostly worked out how to build them. You can also see the desert background which I may or may not include in the final product. The floor is going to be tile beneath the sand to make cleaning easier. There is also a hole in the tile that can be seen through the window. This is for cleaning and will normally be plugged. I decided when it comes time to exchange the sand for fresh sand, I could sweep all the sand into this hole in the floor and into a container in the cabinet of the base. There is also a funnel I'll get to later that will make this easier.
In order to make cleaning easier, the lid will be hinged and supports will be placed into small holes to hold it up. Or I may find some locking hinges to use if this is doable.
Here are the shelves in the base. I figured I could put everything I need to take care of her here so it is easy to get to.
Here is the full base section. The back walls are raised so the entire vivarium piece can simply be slid to the back, easily aligning the holes in the vivarium floor and base lid.
This is the base without the lid, showing how it is supported. It rests upon a groove in the walls of the base. The walls may end up each being two separate pieces of wood as I now realize the planned cut may be too difficult to accomplish.
Here is the open cabinet with a view of the funnel that will be attached on the bottom of the hole in the base lid. This cabinet is where a plastic tub will be placed to sweep the sand into. I may also store my tub of crickets in this cabinet as well.
So that's the plan so far (it's already been altered so many times that I'm expecting it will still have to be tweaked a bit, but hopefully I'm close). If anyone has any advice that would help me out, I'd love to hear it. My biggest priority is making sure this will be somewhere my dragon will live out a very happy life.
looking forward to your feedback,
Bryce Anthony


")
")